Electric Guitar Build

I recently assembled a Stratocaster-style Harley Benton electric guitar kit, which included a few tricky things I had never done (staining and finishing wood, using a jigsaw). I think it turned out pretty great, despite a couple hiccups along the way.

The kit
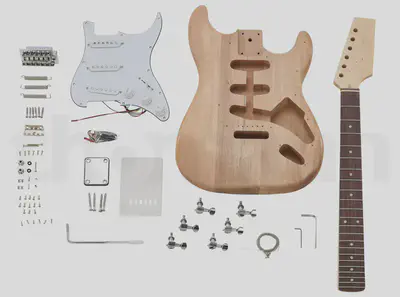
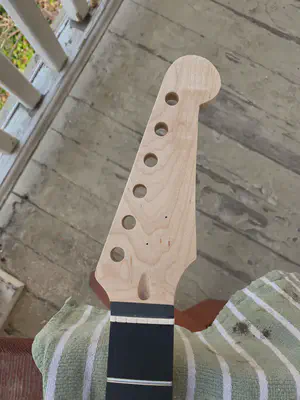
The electronics come assembled and fitted into the pickguard, but the body is unfinished and the headstock is quite blocky. The body I got had pretty rough routing marks in the cavities, so step one was sanding it as smooth as I could.

Safety

Stains, finishes, and sawdust can be pretty bad for your lungs, so I did the build outdoors with a dust mask to filter out wood particles. I also used safety glasses while sawing and drilling.

Staining and finishing the body

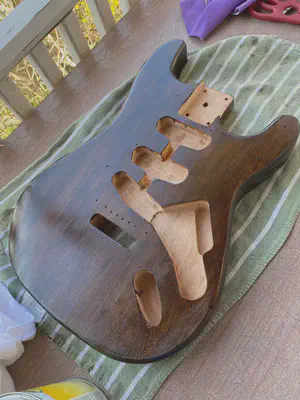
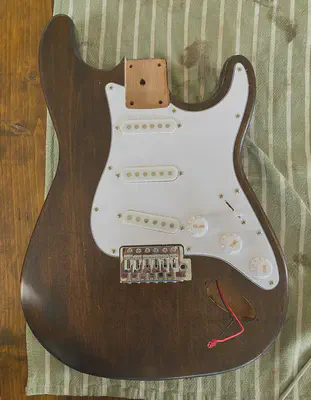
I picked out some Minwax Espresso stain at Lowe’s to get a nice dark color on the body. I started out staining the back of the guitar to make sure it looked okay. To apply the stain, I first wiped on some pre-stain conditioner with a rag and then wiped on stain. As soon as I stained the back, I noticed that I had left a lot of scratches from sanding (visible in later pics), so I spent longer smoothing out the front once the back stain had dried. Here’s what the front looked like after staining:
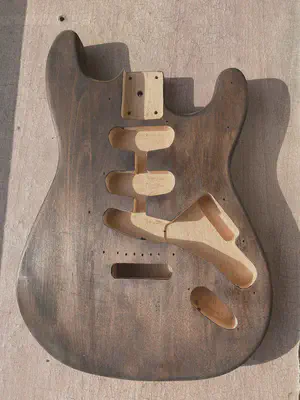
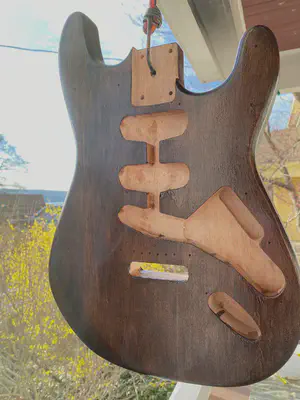
A few scratches, but I was happy with the color overall. Next, I applied three coats of shellac with a paintbrush, waiting an hour between coats and sanding the two base coats with 220-grit. Here’s the guitar drying after one of the coats:
Once the final coat dried thoroughly, I buffed it with some fine 0000 steel wool, which gave it a nice satin finish:
I think the shellac I got was quite old, since it ended up having a bit of a varnish-y smell. I’d probably try using a spray-on lacquer if I did this again.

Shaping the headstock

I printed out a headstock template I liked (from a Gibson Firebird–a little narrower than the traditional Fender Stratocaster headstock). I bought a cheap jigsaw and (after reading the manual and watching several instructional videos about safe jigsaw use) started carving out the shape:
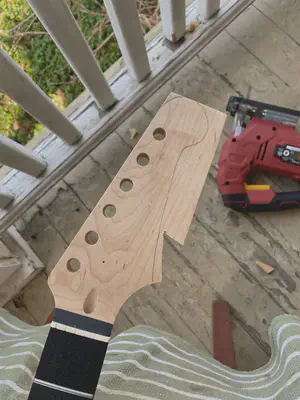
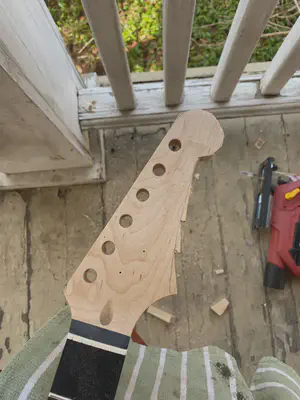
Because of the base of the jigsaw and the guitar neck, I couldn’t quite reach the line I wanted, which resulted in making several jagged cuts:
If I had been thinking, I would have turned the neck over and done the cut on the reverse side… Oh well. Nothing a heavy dose of sanding couldn’t fix:
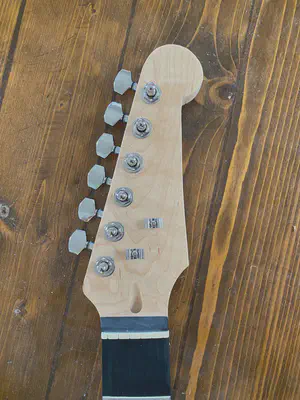
Very happy with the final headstock shape!

Tuners, bridge, and tremolo springs

Installing the tuners was straightforward–just some screws and nuts:
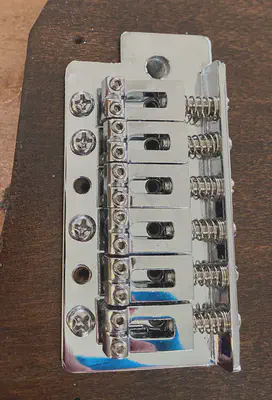
The bridge mounting holes were very unevenly drilled into the body, so I had to expand two of the holes with a drill:
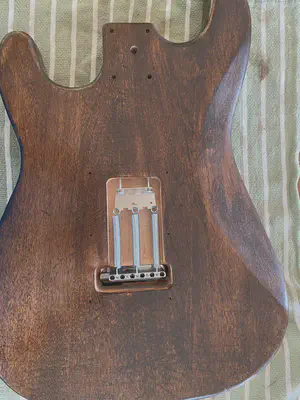
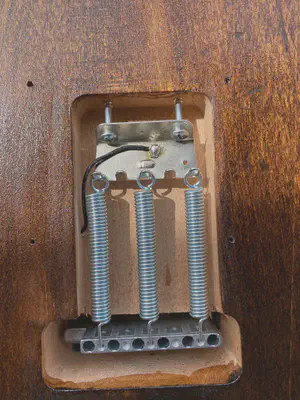
Next, I installed the spring claw and attached the springs to the bridge (notice my horrendous sanding 😅 let’s call it part of the home-built aesthetic):
The hooks on the springs were quite roughly cut and initially didn’t fit into the holes in the sustain block, so I had to file them down. Not a big issue.

Electronics

Next, I attached the pickguard (with pre-installed pickups, volume/tone knobs, and switch):
and then soldered the ground wire to the claw:
Not my finest soldering work, but the claw sucked up a ton of heat, making it hard to get the solder to bind. I also screwed in the jack at this point, which plugged in easily to the electronics.

Neck and backplate

Screwing on the neck and was backplate was straightforward:
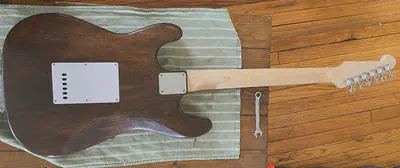
It’s starting to look like a guitar!

Installing strings
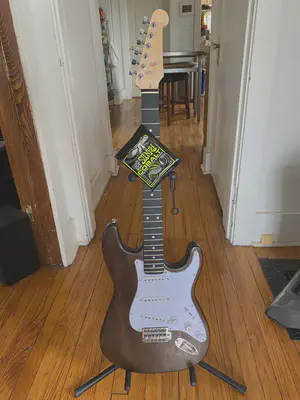
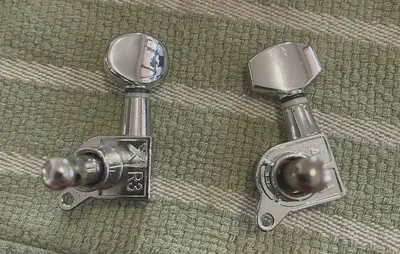
At this point, I was very excited to test it out. Unfortunately, I realized when trying to install the strings that one of the tuning machines was defective and didn’t turn at all. I popped over to my great local guitar store and they found a matching tuner!

I swapped out the button so it matched the other 5 tuners. The replacement is actually considerably nicer, so tuning the low E is a much better experience than tuning the other strings (the stock tuners have a lot of play and uneven resistance when turning, but they’re certainly usable). The tuners are my first planned upgrade.

The final product
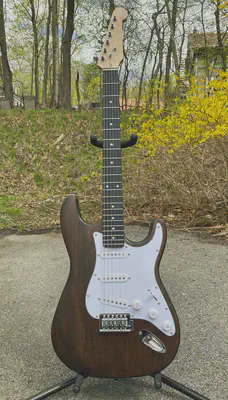
I’m so happy with the final result. After some additional fretwork and a good setup, it plays beautifully and I can’t get enough of the classic strat sound. I used it as the lead guitar in a three-part cover of Fleetwood Mac’s Rhiannon (the main solo starts at 3:17):

Update: I replaced the stock electronics (pickups, pots, switch, and jack) with a loaded pickguard from a Fender Player strat–a huge upgrade in quality and tone! I also added locking tuners and a custom waterslide decal. Here’s a more recent recording with the guitar:

Kiran Tomlinson
Kiran Tomlinson
Senior Researcher

I’m a recent PhD graduate from Cornell University, starting this fall as a Senior Researcher at Microsoft Research.